
Appearance
How to invite another admin
This page covers bringing a colleague into your organization and giving them admin access.
Looking for something else? To invite a guest onto one single job, see Assignment access. To understand what each role can do, see Access levels.
Before you start
You need to be an org admin, and you need to know two things:
- Their work email address, or their mobile number with country code.
- How wide their access should be. The whole company, one division, or one team. If you are unsure which, read Access levels first. It is much easier to widen access later than to explain why somebody could see something they should not.
WARNING
Only an org admin can create another org admin. If that option is greyed out for you, you are not one.
Adding the person
Open Users in the left menu. This is the directory of everybody in your organization.
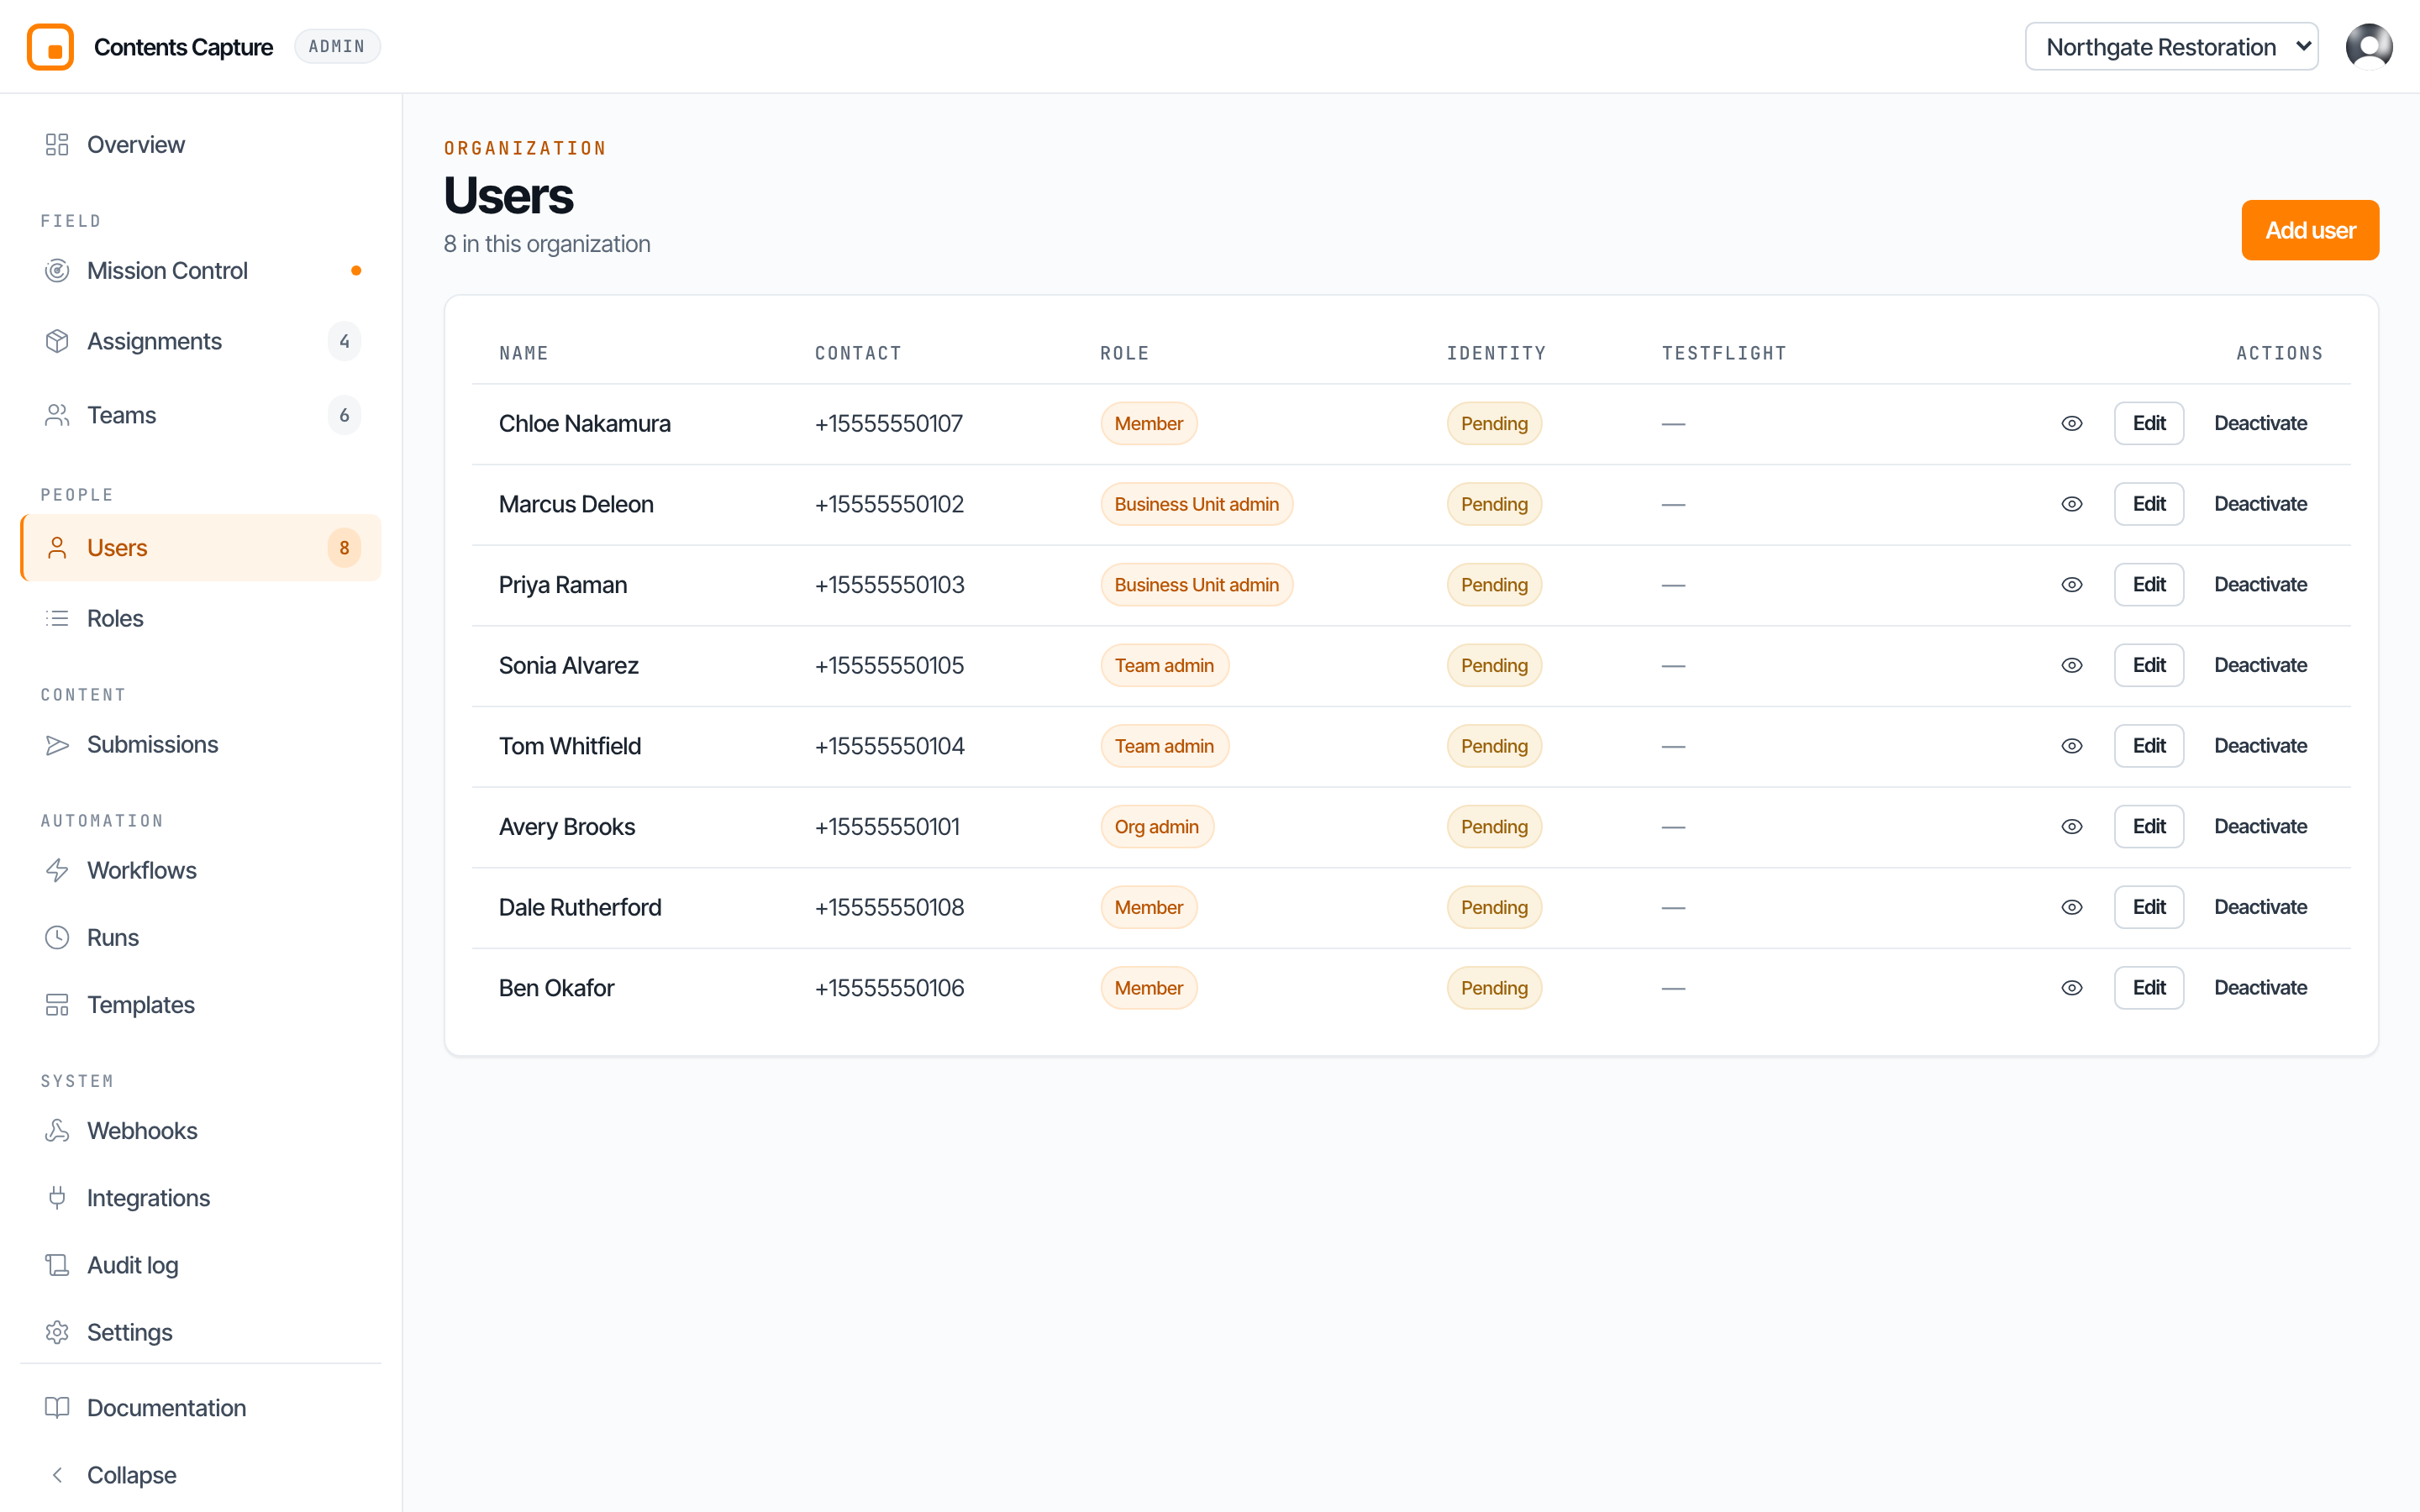
Choose Add user.
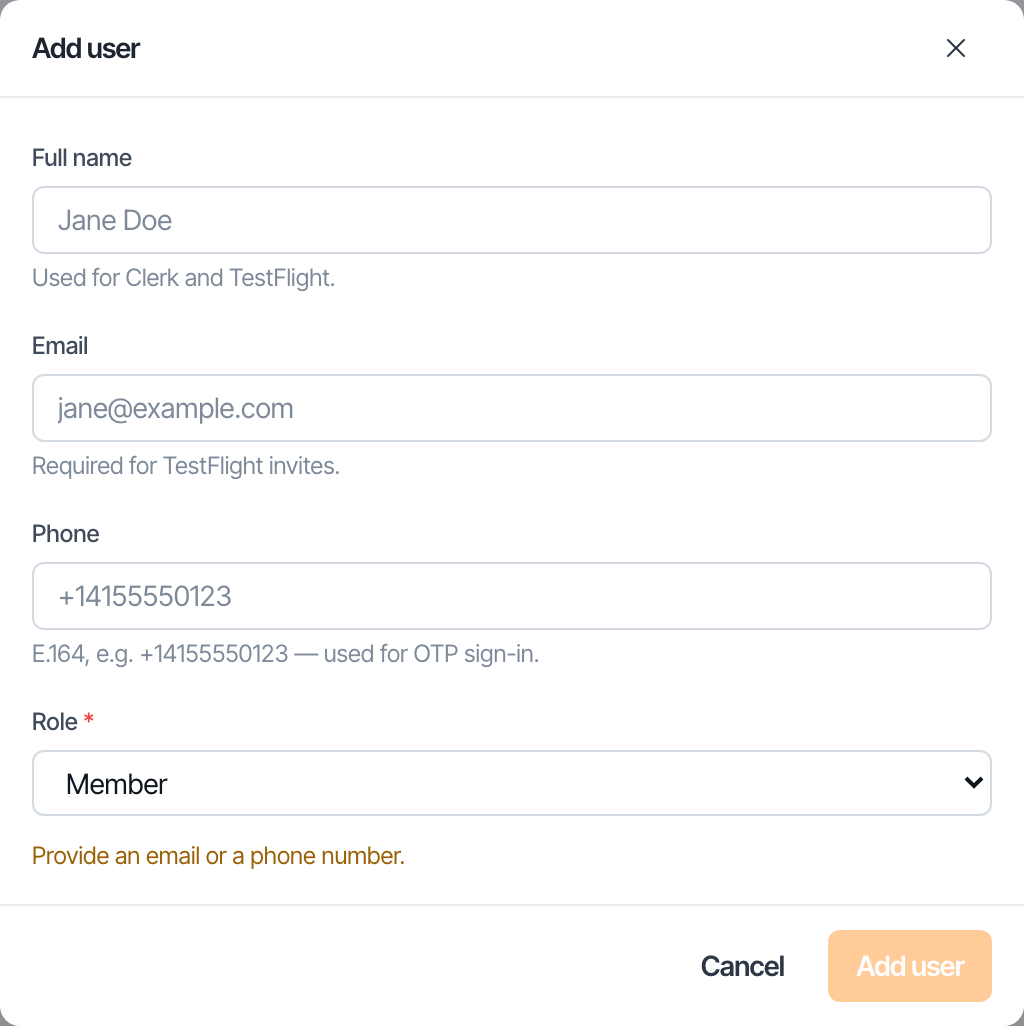
Fill in four things.
| Field | Notes |
|---|---|
| Full name | How they appear throughout the console. |
| Their work address. Required if they also need the mobile app. | |
| Phone | With country code, so +14155550123. Lets them sign in by text. |
| Role | See below. |
You must provide an email or a phone number. One is enough, but there is a good reason to give both: email is how the mobile app invitation reaches them, and phone is the quickest way to sign in from the field.
Choosing the role
The dropdown lists all six roles. Any that you are not entitled to hand out are greyed out, and hovering over one tells you why.
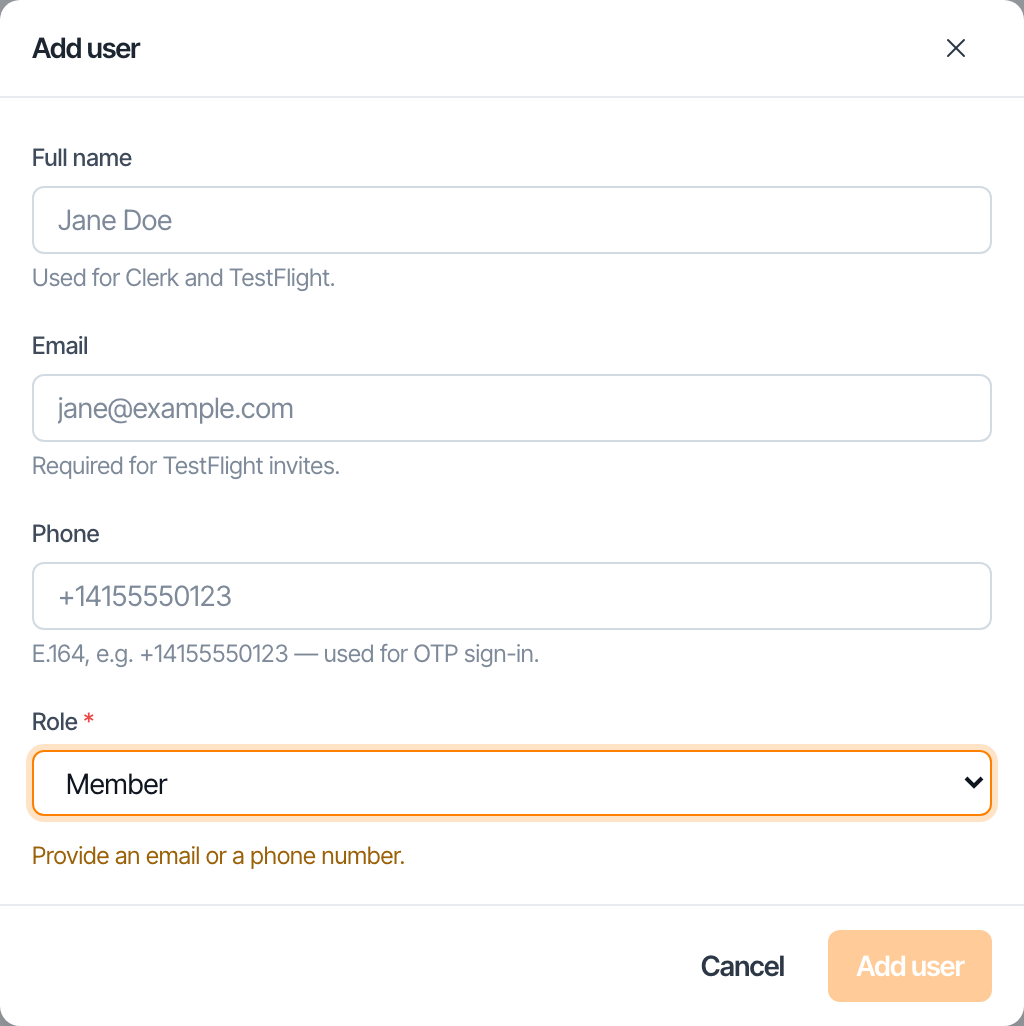
| Choose | When |
|---|---|
| Org admin | They are your equal and should run everything, including webhooks and integrations. |
| Business unit admin | They run one division and everything inside it. |
| Team admin | They run one team day to day. This is the right answer more often than people expect. |
TIP
When you cannot decide between business unit admin and team admin, remember they can do exactly the same things. The only difference is how wide it reaches. Start narrow.
Choose Add user and they exist.
What happens behind the scenes
Adding somebody here does three things at once, which is why it takes a moment.
- Creates their account in Contents Capture.
- Creates their login so they can actually sign in.
- Adds them to the mobile app distribution, so they can install it on a phone. This one needs their email address.
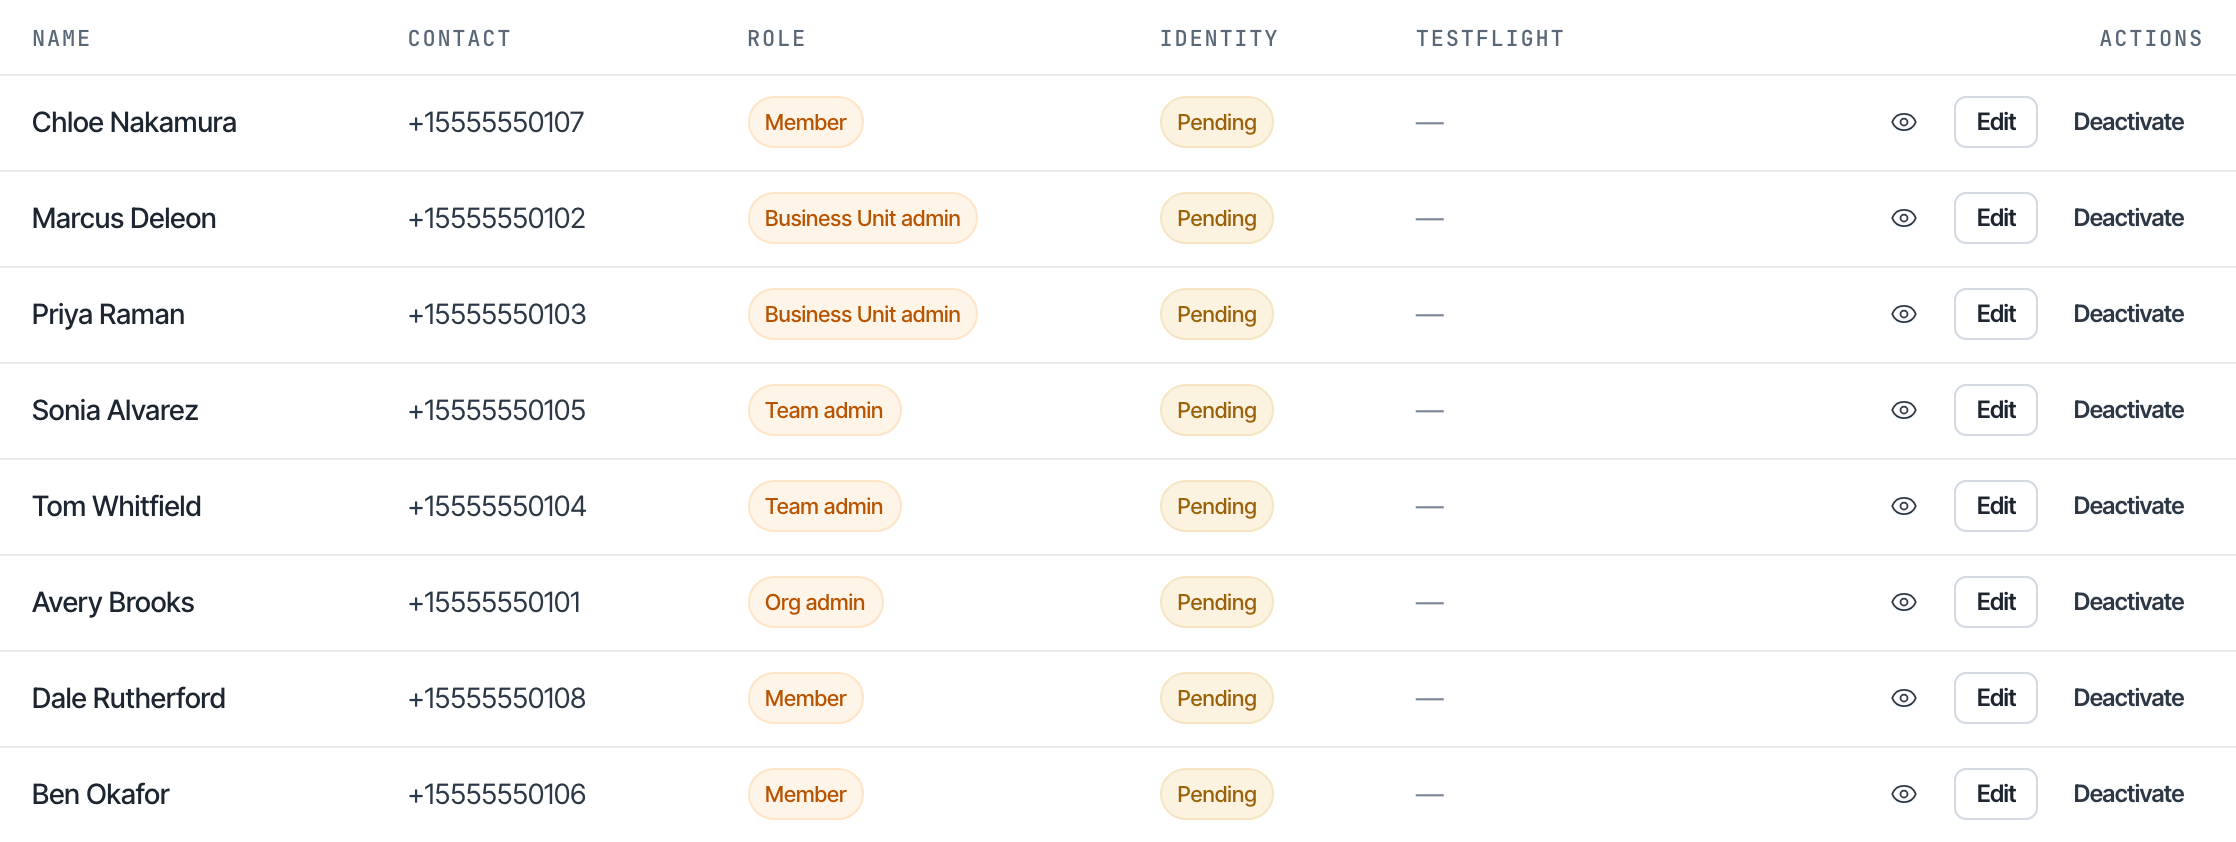
If you see a warning
Occasionally the second or third step reports a problem while the first succeeds. The person is still created and everything else keeps working. The warning tells you which piece to retry. Nothing is left half broken.
Their first sign in
They go to the console, enter the email or phone you registered, and type in the code they are sent. No password is created or shared, so there is nothing for you to send them and nothing for them to lose. See Logging in.
Giving them access to a specific team
The role you set in the Users directory applies at the organization level. To put somebody on a particular team, open that team and use its Members tab.
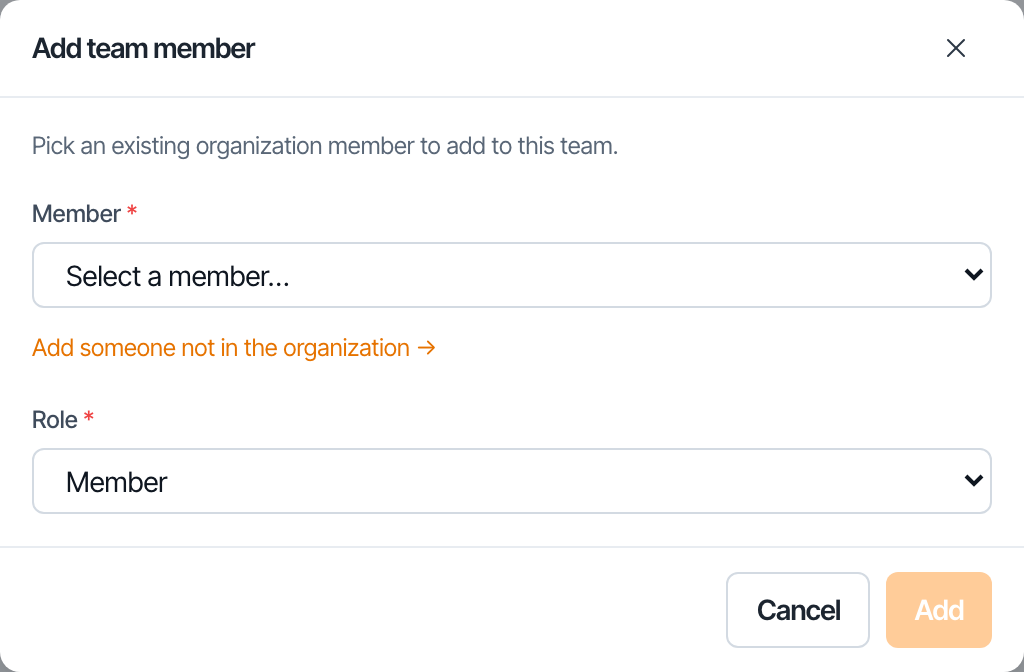
A person can sit on several teams, with a different role on each. Somebody might be a team admin of the fire team and an ordinary member of the water team.
Changing somebody's role later
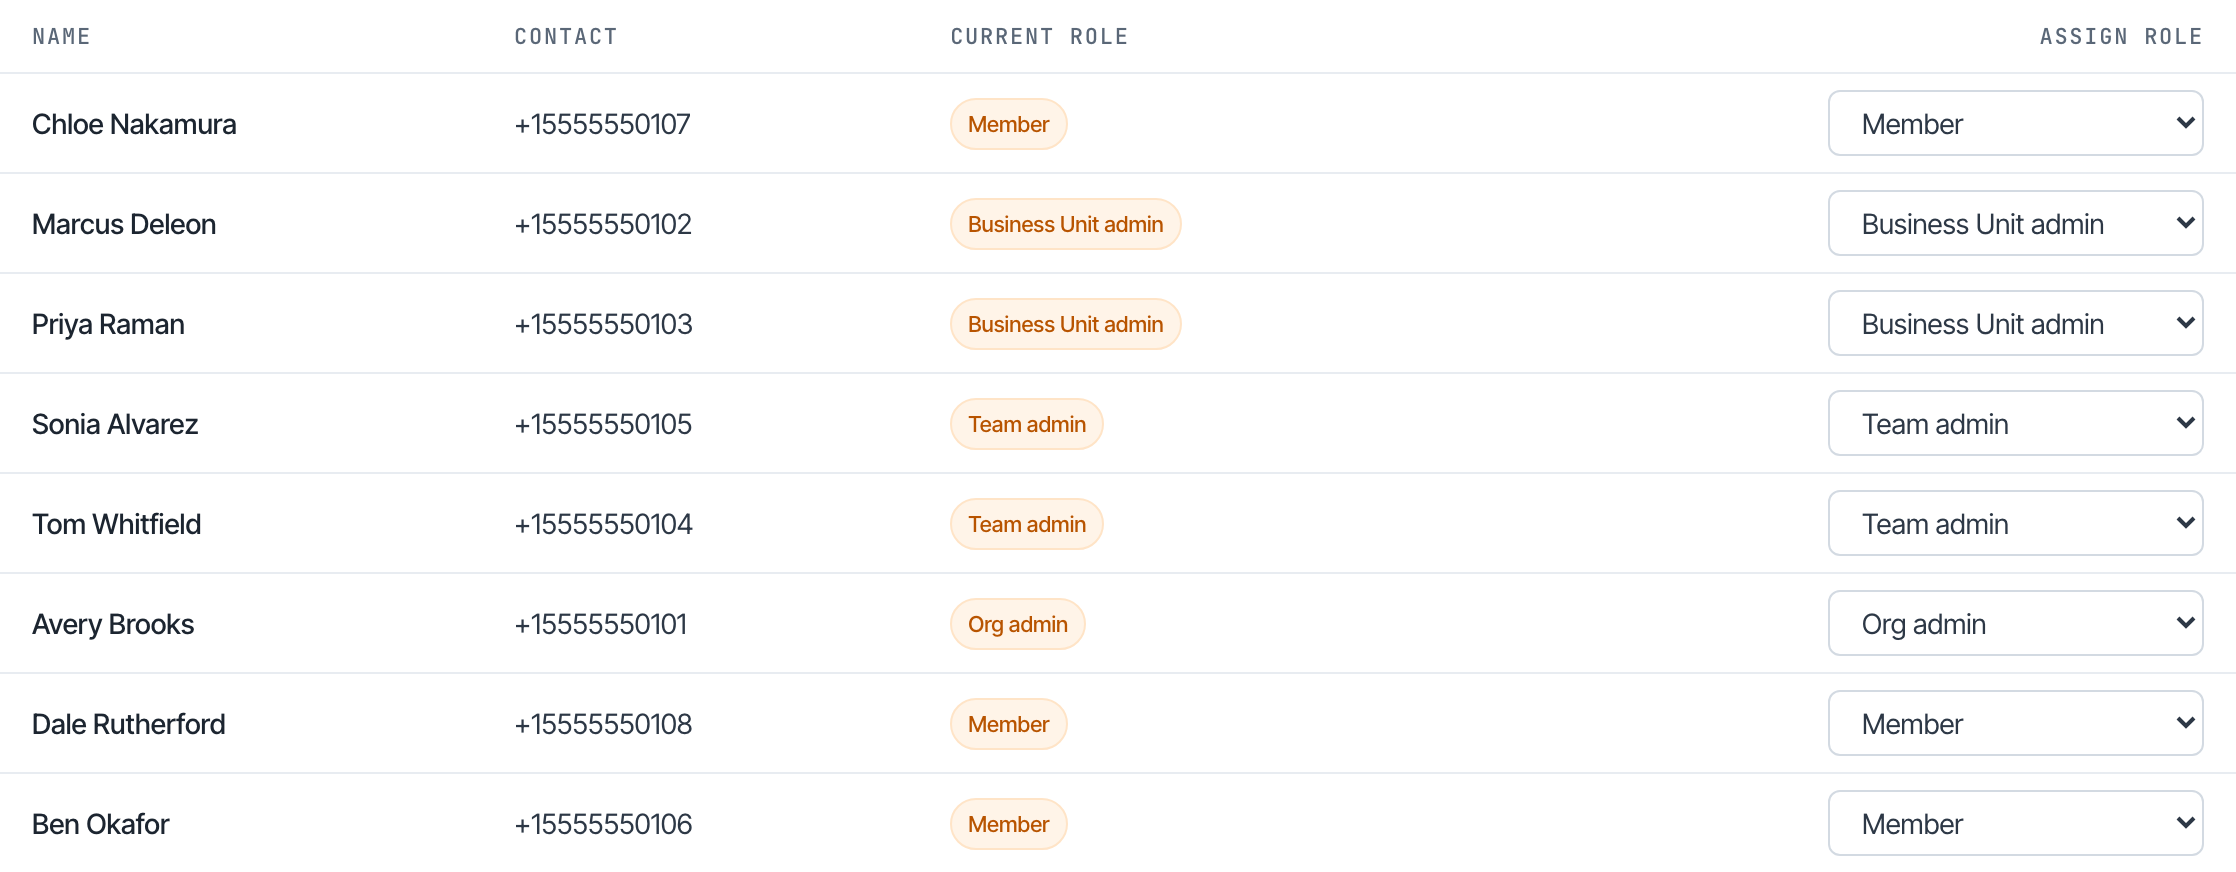
Open Roles in the left menu. Every person is listed with a dropdown next to them. Change it and it takes effect immediately.
Removing access
You have two options, and they are not the same.
Remove them from a team. They lose access to that team and keep everything else. Use this when somebody moves between teams.
Deactivate the user. They lose the ability to sign in at all, their login is disabled, and they are removed from the mobile app distribution. Use this when somebody leaves the company.
What deactivating does not do
It does not delete their work. Every photograph they captured stays exactly where it is, still attributed to them, still in the audit log. Documentation does not disappear because a person left, which is exactly what you want when a claim is questioned two years later.
A quick checklist
- Give them the narrowest role that lets them do their job
- Include email if they need the phone app
- Include the country code on phone numbers
- Tell them to expect a code rather than a password
- Deactivate rather than delete when somebody leaves
Next: How to create an assignment.